After hearing several horror stories of people who had been away from home and returned to find significant damage due to a water leak, and having just had our hard wood floors refinished, and occasionally being gone for a month or two at a time, I decided it was time to do something automatic about water leak detection and automatic water shutoff. While doing some Google research, I came across this forum posting and knew I had found my answer - or at least part of it. The forum posting details a method for modifying X-10 DS10A security sensors to use as water leak detectors. Since I already use several DS10As with my Homevision based home control system, this seemed like a natural.
DS10A sensors were designed to be used with X-10 Wireless Security Systems. They are battery operated, wireless devices that connect to a switch of some type. They come with a magnetic proximity switch that is normally mounted on a door or window to detect intrusion. Once batteries have been installed in the unit, you press a test button and the unit assigns itself a random ID between 0 and 255. Once the ID has been assigned, the unit is operational and will send out a wireless message every time the contacts are opened or closed. As an additional security feature, the unit also sends out a message approximately every 60 - 70 minutes indicating the current status of the switch. With this feature, the security system, or home control system in my application, can be relatively assured that the device is present and operating properly.
The message sent by the DS10A is composed of the 8 bit ID and an 8
bit function code. In the case of the DS10A, the function code is
a decimal 32 if the switch is open and a decimal 33 if the switch is
closed. Apparently, if the battery is low, the unit instead sends
a decimal 160 if the switch is open and a decimal 161 if the switch is
closed. This is actually the same function code with the hight bit
set. The ID and function are actually encoded and the protocol
for decoding them is provided here.
I had already been using several of these in my home control system using a W800RF32A made by WGL & Associates to interface them to the system and they have been extremely reliable. The only thing you have to watch out for is duplicate IDs. If you get a duplicate on a new unit, you just have to pull the batteries, wait a few minutes, and then re-install the batteries to get another ID.
I was so impressed with the aforementioned forum post that I decided I would attempt my own implementation. My plan was to power the DS10A from a wall wart power supply so I wouldn't have to worry about battery life and to also provide a battery backup in case of temporary power outages so I wouldn't have to worry about the unit losing its ID - especially if we happened to be out of town. Here's the circuit I came up with:

The lower part of the circuit is the power supply. The circuit is normally powered from a 5 volt switching wall supply from SparkFun Electronics. This provides the power for the detection portion of the circuit as well as for the 3.3 volt regulator that provides power for the DS10A. The backup is supplied by a 3 volt CR1225 button cell and I used Schottky diodes to isolate and switch between the 2 supplies to keep voltage loss at a minimum.
The upper portion of the circuit provides
the water detection. The actual sensor is a leaf
wetness sensor from Hobby Boards and I replaced the relay from the
original circuit with an analog
switch. The rest of the circuit is composed of resistors, a
capacitor, and 2 NPN transistors. When
the sensor is dry, Q2 is off the collector of Q2 is at 5 volts which turns on the
base of Q1 leaving the collector of Q1 and the enable of the analog
switch at ground and the switch is open. Once moisture bridges
the traces on the sensor, Q2 is turned on which places the collector of
Q2 at ground and turns off Q1 which places the collector of Q1 and the
enable input of the switch at 5 volts which closes the analog switch
which transmits a closed condition to the DS10A.
The reason for using an analog switch as well as mostly surface mount components was a desire to fit all of the circuitry inside the battery compartment of the DS10A. The battery compartment is about 1" X 2" and so the circuit board is the same size. This seemed to work out well and here's the board layout as well as the finished printed circuit board:
 |
 |
And finally here's the assembled board ready to be installed and a pair of sensors complete and ready for mounting:
 |
 |
There are a couple of things to note about the circuit board in case anyone wants to use the Gerbers I've provided below. The terminal blocks I used have locating pins on the base as well as the actual contact pins. You can see the dual sets of holes clearly in the blank pcb. The problem is that the way I positioned the terminal blocks, the actual terminals were a little too close to the battery clip so I clipped the locating pins off and mounted the terminal backwards. It didn't affect the design or use of the board - just something I'd change if I made more boards. I also learned not to turn off the copper layers when adding the silk screen data on the back of the board - lesson learned.
I used a standard 5.5 X 2.1 mm connector to mate with the power supply and a standard 3.5 mm connector for the sensor. In order to do this, I had to make a couple of holes in the bottom of the cover of the DS10A. I also added a small hole in the front of the cover of the DS10A that lined up with the test button. This way I could test the DS10A without having to unplug it to open the cover. For final connections, I just pulled the sensor wires back inside the case and attached them to one terminal block. Then I removed the battery connectors from the DS10A circuit board and soldered a couple of wires in place of them which I then connected to the remaining terminal block.
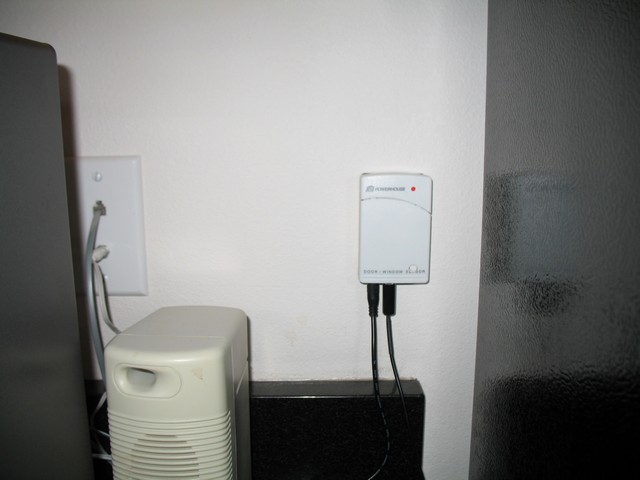
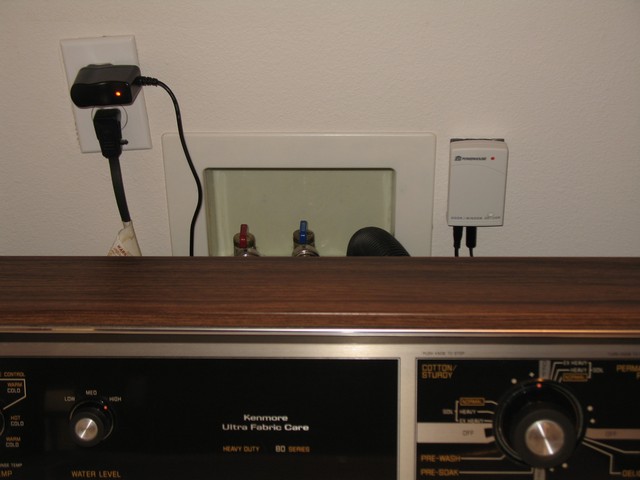
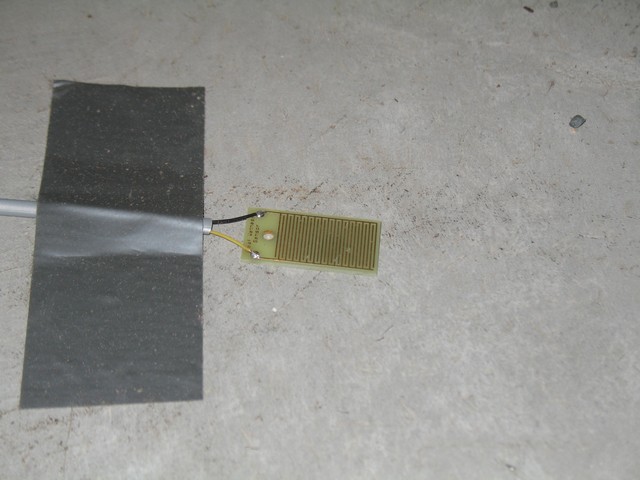
Finally I installed three of these sensors - under the refrigerator, the hot water tank, and the washing machine. Here are pictures of a couple of units installed as well as one of the water sensors:


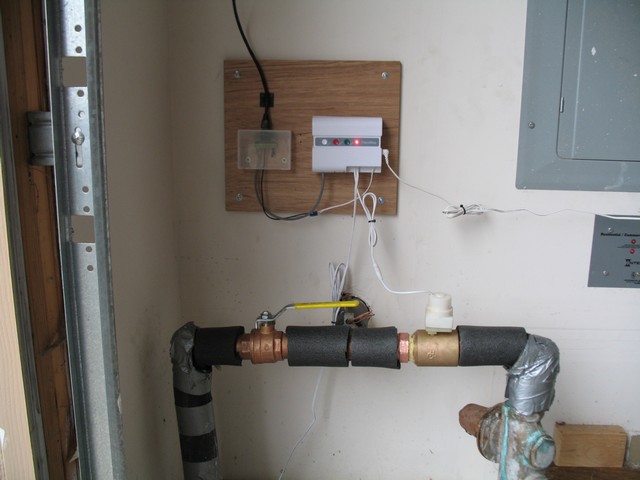
The final step was providing a method to actually shutoff the water if there was a leak. After searching around the Internet, I decided on a FloodStop FS125NPT. This valve matches my water inlet line size, comes with a battery backup, and interfaces relatively easily with my home control system. So here's the valve and controller installed in my garage:

Well the sensors and valve have been installed for several months now. In that time I have gotten 2 alarms. The first was when some water splashed out of the washing machine and the second was when water splashed from a laundry sink in the garage next to the hot water tank. Although there was no real leak, the sensors seem to work well. The home control system is programmed to only close the valve in the event of a leak if we are away from home. If this happens, the home control system also sends us a text message to let us know about the alarm. If we are home, the home control system just announces the alarm inside the house and also sends us a text message in case we are outside.
So far I'm happy with the system and will feel much more comfortable when we are
away from home.
I have provided a download of the files which you might want in order to duplicate this project. The download includes a schematic in Tinycad format, a pcb layout in FreePCB format, a set of Gerber files for making pcbs, and a parts list in Excel format. My boards were made by BatchPCB and you could actually purchase one from them with this link. Enjoy and drop me an email if you have any questions, comments, suggestions, or criticisms.